
5 Menu Layout Ideas for Restaurants & Cafes
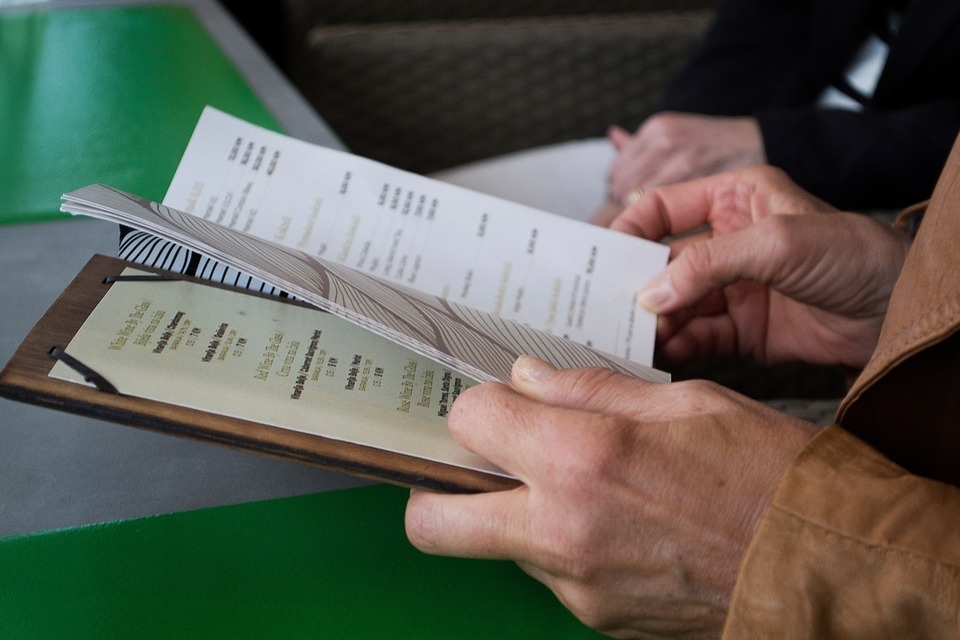
Do you need to know how to design a menu layout in a way that maximizes restaurant profits? Our post explores the 5 psychology-backed menu layout ideas for restaurants and cafes.
1. Making a First Impression
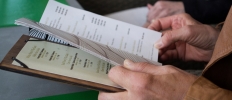
The menu layout design, is often dictated by the establishments target market. High-end restaurant menu layout is subtler than a local cafe menu layout, but both need to be strategically planned, and easy to navigate.
The golden triangle, middle, upper right and upper left are the sweet spots. This prime real estate is where the most profitable items are placed. Limit the available choices to seven items per section, placing the most cost-effective first. Often the first two items of a category are the best sellers.
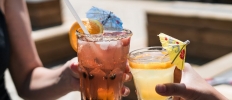
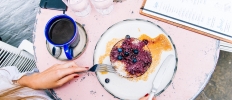
Limit the use of photos to one per page. Use high-quality images, which show the textures and colour of the ingredients. Choose an appealing and profitable dish, as a photograph can boost item sales by up to 30%. Often a high-end restaurant menu layout will feature illustrations instead of a photo.
2. Emphasize Certain Items to Generate Sales
When considering how to design a menu layout, think of ways to guide the diners eye to your most profitable menu items. Eye magnets are designed to draw the eye using a range of techniques. Photos, graphics and illustrations are ideal for highlighting a specific dish or ingredient. Shading, colours, and borders are useful techniques for separating sections, or highlighting a specific dish, or special item on the menu. To guide the diner, ribbons, pointing hands, and arrows, are also helpful devices.
Surrounding a key menu item with a border and negative space, is a very effective technique, when used sparingly. Combining colour into the border, or shading under the items description, are effective menu layout ideas.
Placing a decoy item, in a prime position at the top of a menu can enable more profitable dishes to be chosen more often. A decoy dish, is usually an excessively expensive item. It is priced and positioned, so that other more cost-effective foods will be reasonably priced, and desirable.
Grouping expensive items together, incorporating these other techniques with this group, can help the diner to see them as value for money.
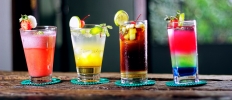
3. Using Colour to Stimulate the Diner
Colour has a subconscious effect, and can generate an emotional response in diners. Using colour to emphasize specific items, or sections of a menu can subtly influence the patron’s choices. Various colours are associated with a list of cocktails, food categories and other beverages.
Blue is often connected with the sea, and freshly caught seafood. Freshly picked garden vegetables are often associated with green. Healthy foods are often linked to the colour orange. Using these colours for sections, can subconsciously influence diners.
Some colours have a psychological effect. Red is an effective colour for stimulating appetite. Yellow can be used to draw attention to an item or section. Blue can have a calming effect. Effectively positioning these colours, within the text, as a border, or as shading, can lead to some interesting menu layout ideas.
Using colour photos, can boost sales of specific items on the menu. And graphics and illustrations in specific colours, can visually identify sections.
4. Appetizing Descriptions
According to Greg Rapp, Menu Engineer, “People taste what you tell them they’re tasting.” Learning how to design a menu layout, involves developing creative names and appealing descriptions for dishes. With a good description of a dish, sales of that item can increase 27%. Descriptions need to be appetizing and appealing. The phrasing needs to be evocative and sensory ,but should avoid superlatives.
Geographic descriptors are ideal for establishments who focus on organic and local produce. Stating that the ingredients are from the local region, can play on the diner’s ethical emotions, producing added sales. Using regionally registered produce, can give some authenticity to a restaurant’s menu.
A lot of people yearn for simpler times. Using nostalgic descriptions can offer the diner, food from a simpler time. ‘Good old-fashioned apple pie’, just seems to taste better. Often the patron sees nostalgic menu items as healthier, bringing back happy memories, and shared experiences.
When developing descriptions, use sensory language. Describe the ingredients used, to evoke images of freshness. Describe the texture and feel of the foods. Where foods are processed in-house, explain parts of the process with mouth-watering descriptors. Allow the diner, to visualize the taste, before ordering.
Good descriptions can form a bond between the chef and the diner. Humanize the food by using the chef’s name in the dish title, or within the description. Sometimes, humanizing a dish works very well with nostalgic foods.
5. Menu Pricing for Better Sales
Effective menu layouts avoid the use of currency symbols, as it reminds the diner of a financial transaction and causes psychological ‘pain’. By showing the numerals only, there is less connection with currency.
Pricing items with a column, causes the diner to focus on the price. This often leads to the cheapest item being purchased. Instead, use nested pricing at the end of the description, using the same font. Showing the price in words, instead of numerals, is even more effective.
The pricing of menu items, although tied to profitability, should consider the friendly numbers. Patrons have a perception about certain numbers. Prices ending in .95, are perceived as friendly prices, excellent value for money. Prices ending in .99, are considered cheap, but may be of a lower quality. Items priced with .00, are sometimes perceived as pretentious. Good menu layouts use a mixture of these prices, according to the menu items available.